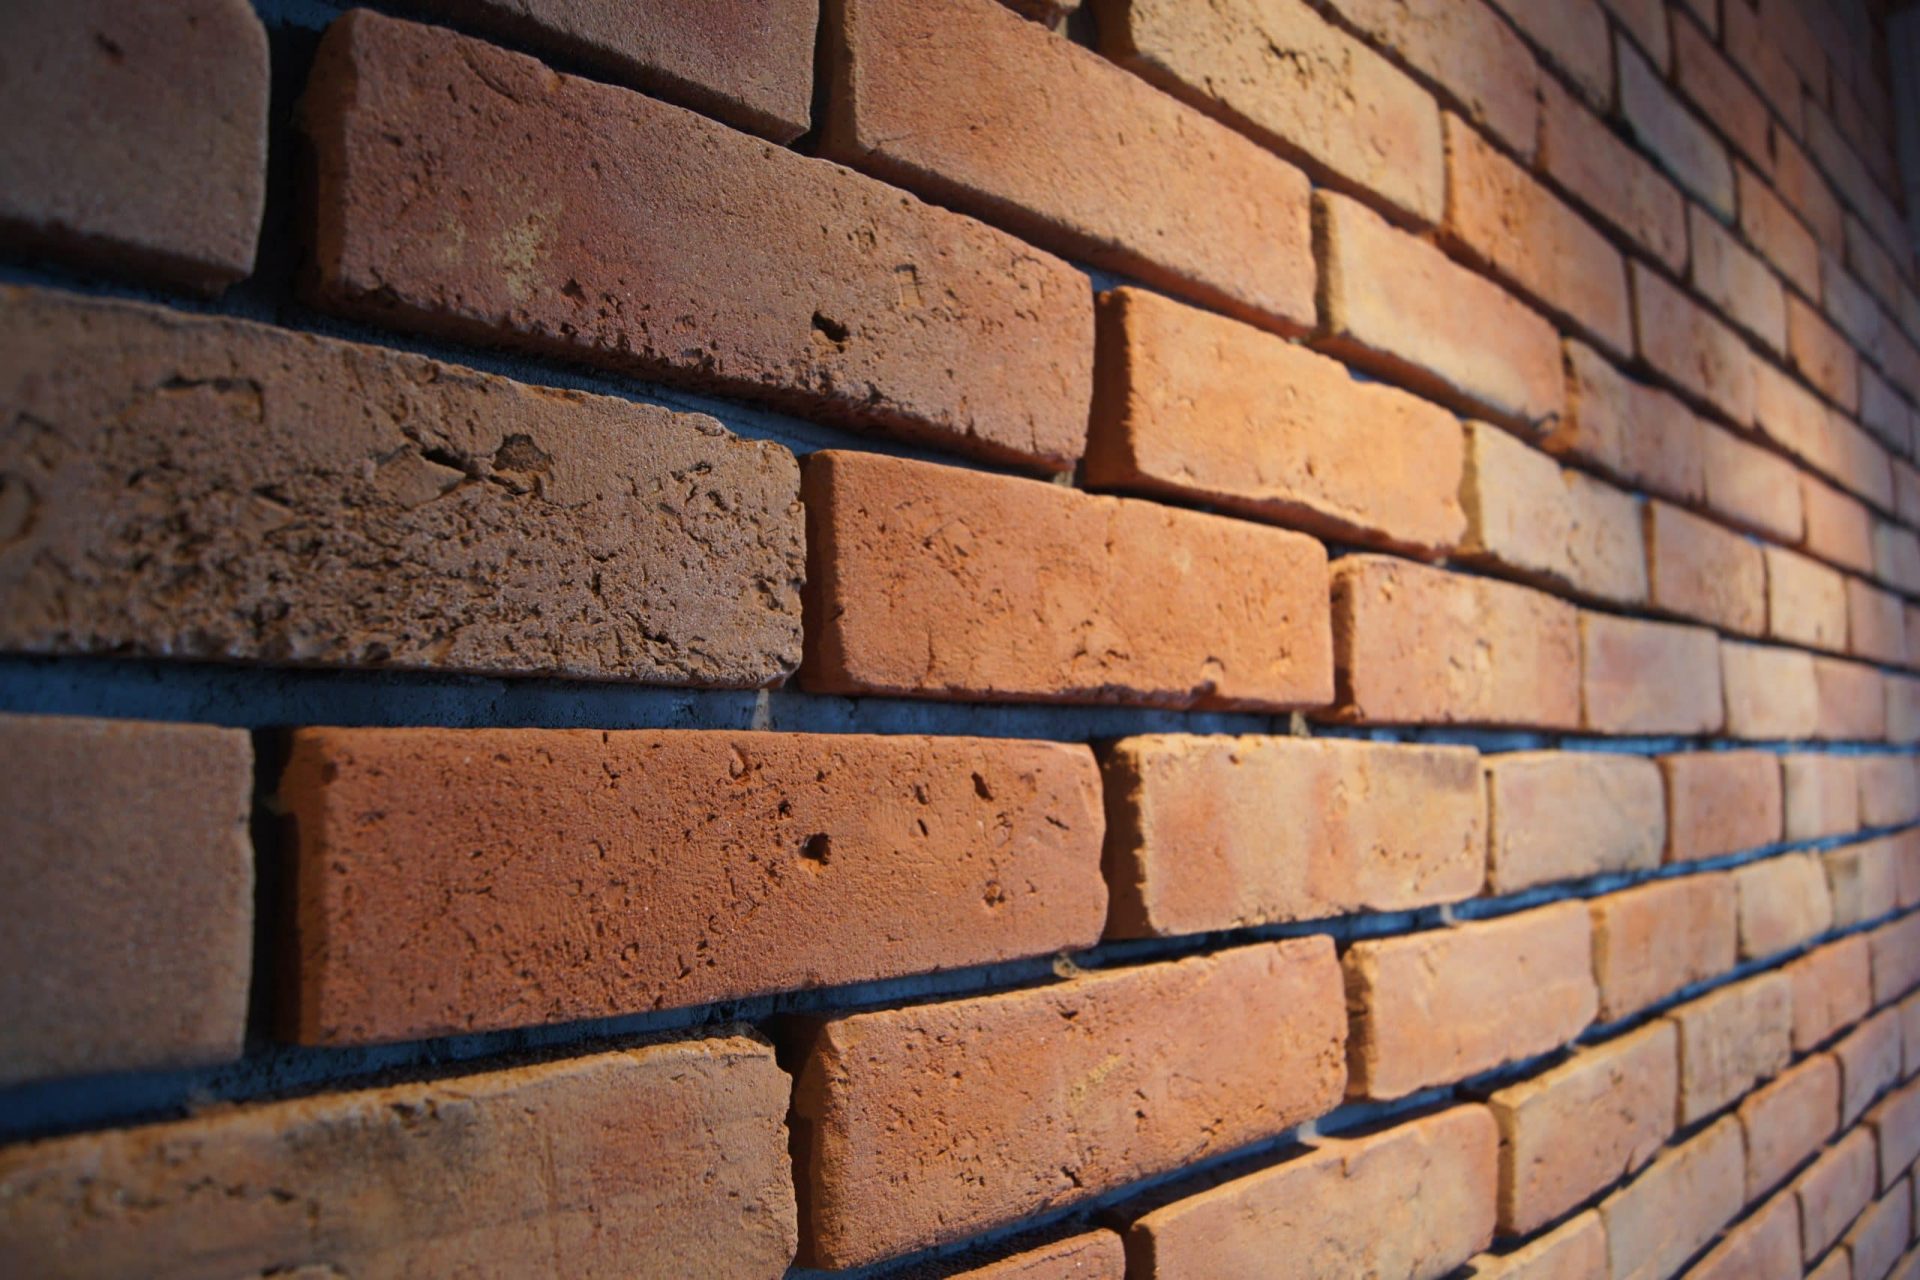
One of the most popular products in our store is artisanal brick tiles. Like the rest of our product range, they are handcrafted, resulting in a unique look.
Brick wall tiles are the best option for those who want to create a unique look in their home. Interestingly, their use extends beyond interiors; they can also be used outdoors, for example, as a building facade. Especially recently, brick wall tiles have become a very popular choice.
In today’s article, we’d like to introduce you to our methods for installing brick tiles. Let’s start by taking a look at the types of brick tiles available on our website.
In addition to brick floor tiles, we also offer brick wall tiles. Their finish has a huge visual impact, naturally depending on the effect our client would like to achieve. If you can’t find your ideal design among the types presented below, please contact us directly. We can prepare brick tiles to your individual specifications, not only in terms of color and face type, but also size.

Licoretro – numerous cracks and slags on the face. Color: shades of red and cherry, with a possible small amount of ash and gray. Water absorption: approx. 14%.

Traditional facing – even, uniform facing. Color: combination of orange, red and cherry tiles. Water absorption: 16-18%.

Aged face – numerous pitting on the tile face. Color: a combination of orange, red and cherry tiles. Water absorption: 16-18%

Traditional face – even, uniform face. Color shades of cherry, with the possibility of a small amount of red. Water absorption 16-18%
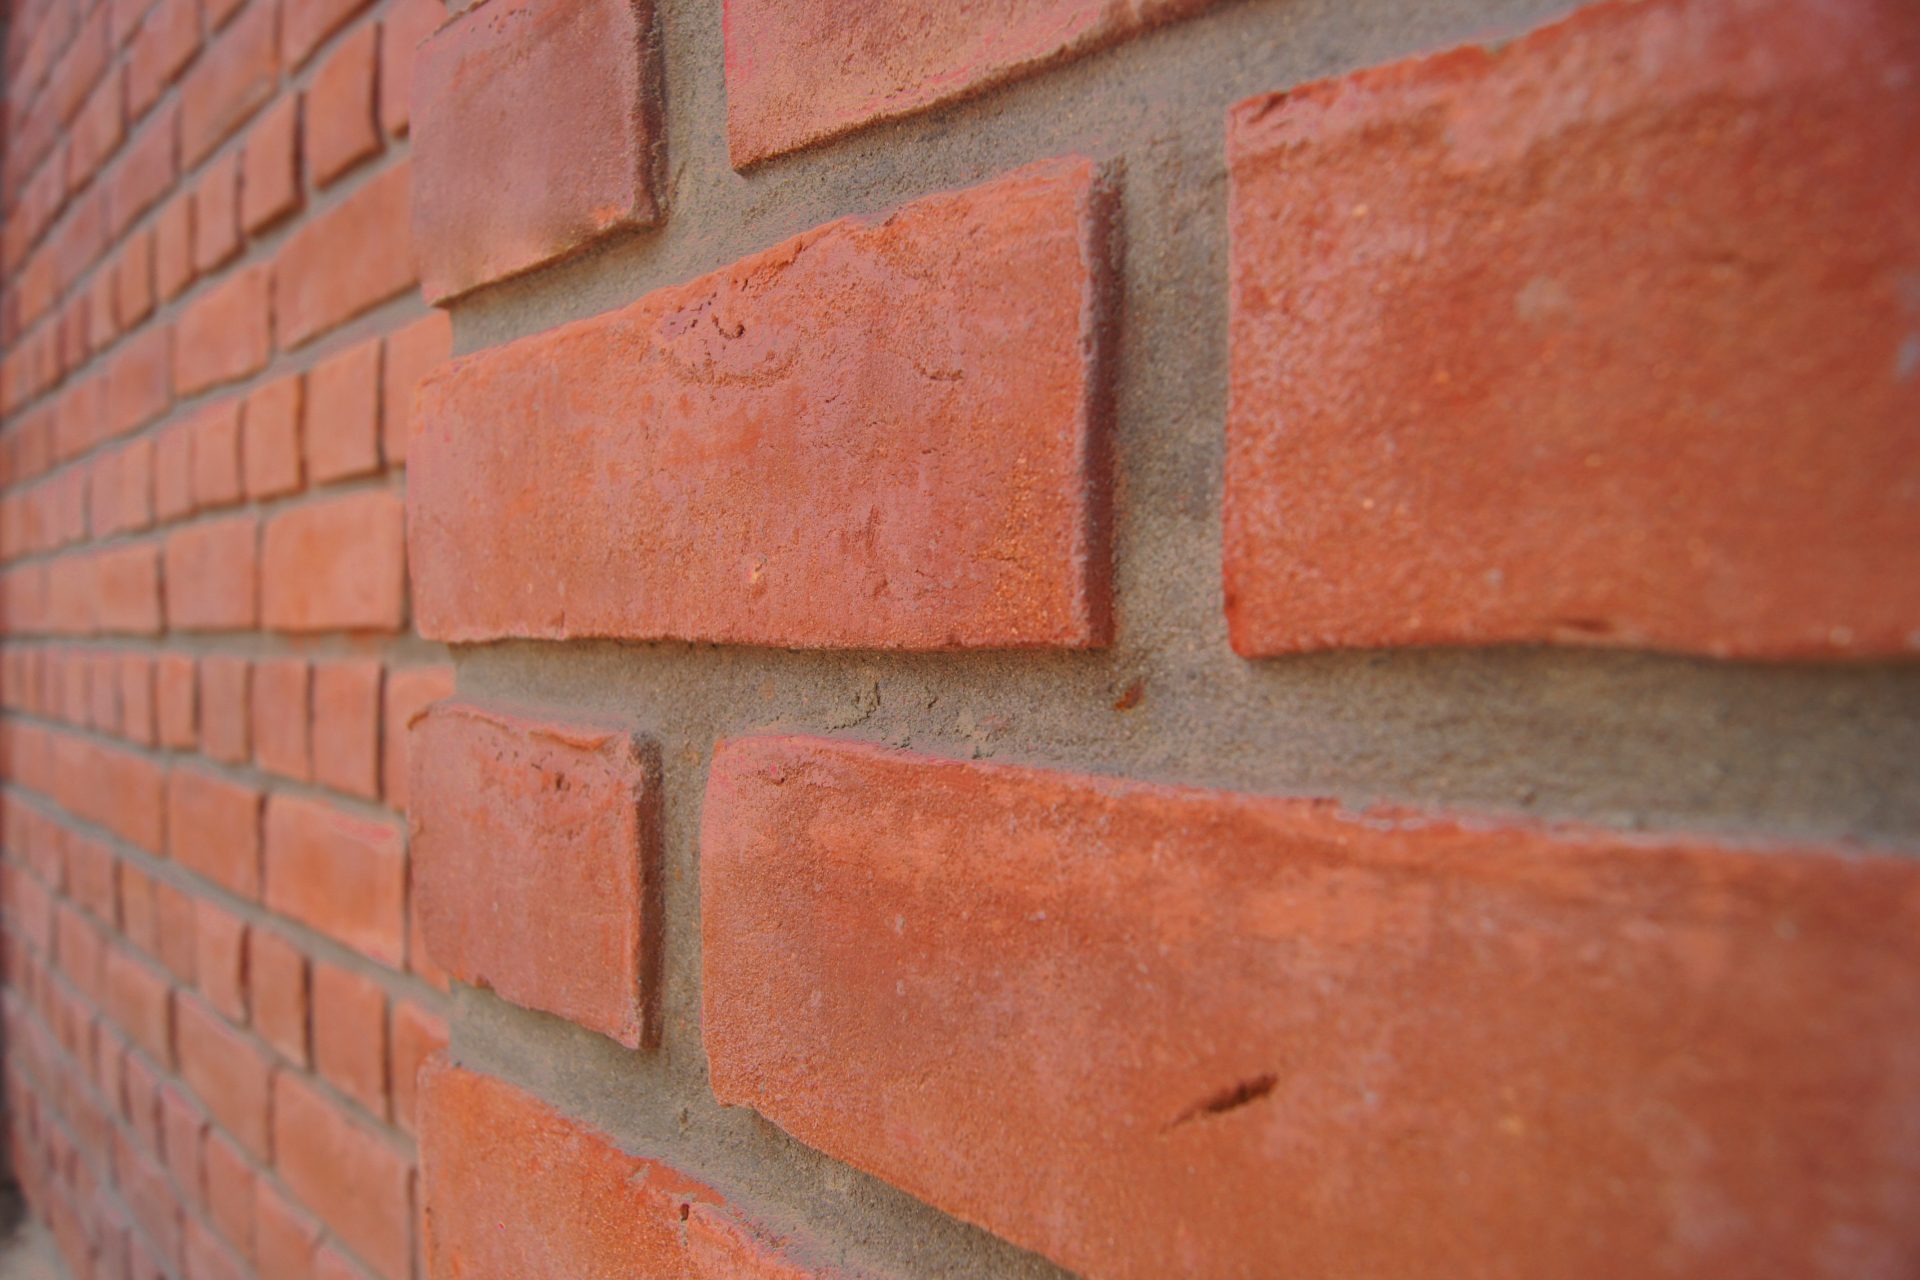
Traditional grain – even, uniform grain. Color: shades of red, with the possibility of a small amount of orange and cherry. Water absorption: 16-18%
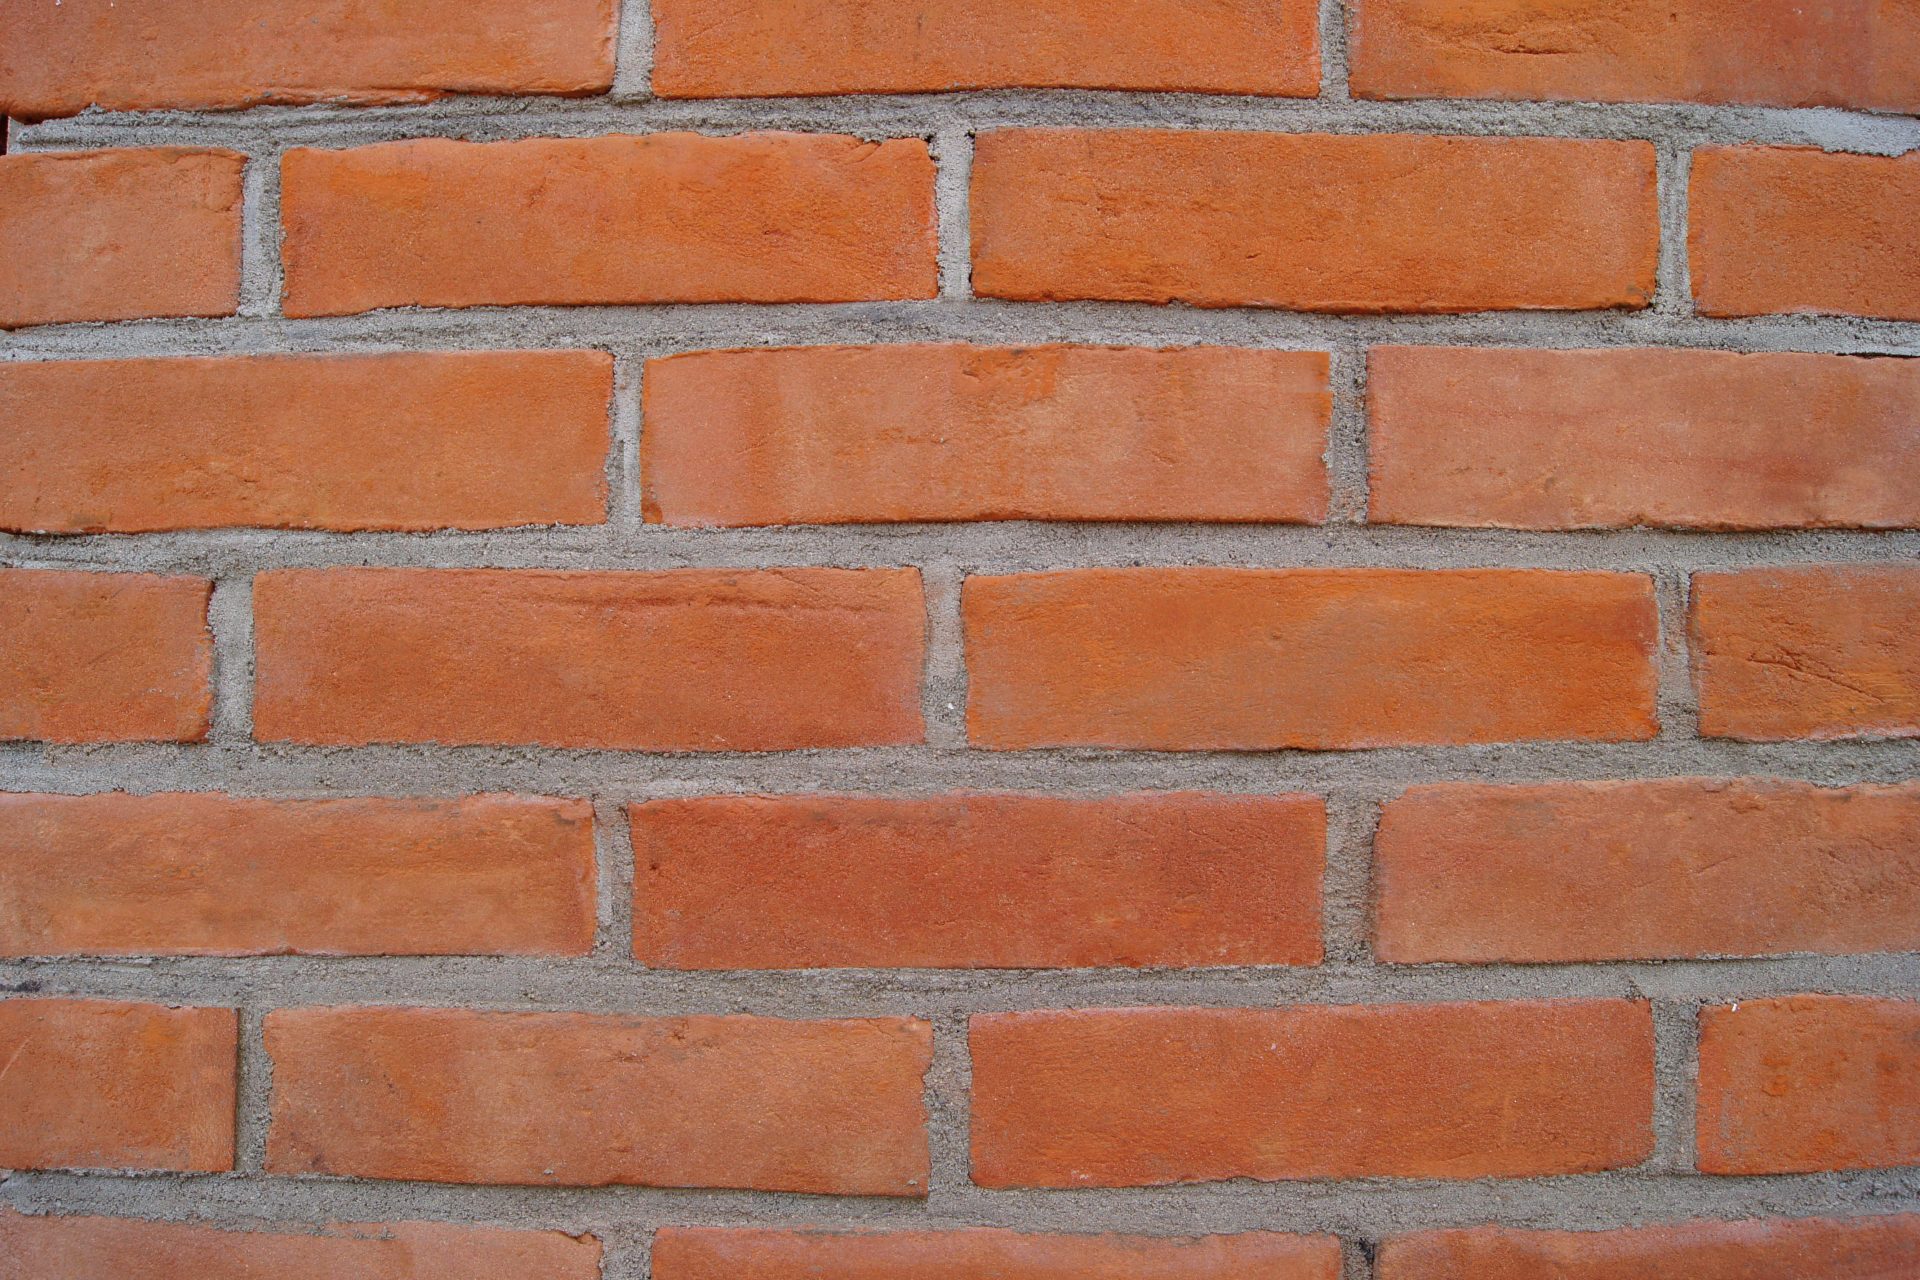
Traditional grain – even, uniform grain. Color: shades of orange, with a small amount of red. Water absorption: 16-18%.

Traditional face – even, uniform face. Color shades of cherry, with the possibility of a small amount of red. Water absorption 16-18%
Aged face – numerous pitting on the face of the tile. Color: shades of red, with possible small amounts of orange and cherry. Water absorption: 16-18%

Aged face – numerous pitting on the face of the tile. Color: shades of orange, with a possible small amount of red. Water absorption: 16-18%

~ Silesian bond
Traditional facing – even, uniform facing Color red brick tile for individual painting Water absorption 16-18%

Cut face – as a result of cutting the brick, we obtain a smooth face. Color: a combination of orange, red and cherry tiles. Water absorption: 16-18%
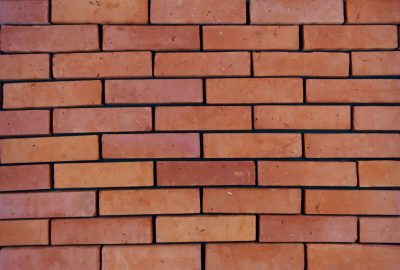
Sandblasted face – as a result of sandblasting the brick, we obtain a rough face with pits. Color: a combination of orange, red and cherry tiles. Water absorption: 16-18%

Uneven facing – as a result of the manual production process, when cutting off excess clay, we get an uneven face. Color: a combination of orange, red, cherry, gray and slag tiles. Water absorption: 16-18%
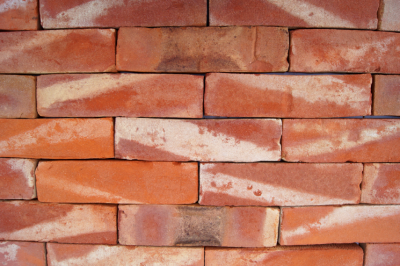
Retro face – numerous cracks and slags. Color: shades of red and cherry, with a possible small amount of ash and gray. Water absorption: approx. 14%.
German Retro is larger than traditional brick tiles, measuring 28 x 7 x 3-2.5 cm. The standard size is 25 x 6.5 x 3-2.5 cm.

Licoretro – numerous cracks and slag + aged – numerous pits on the brick faces. Color: shades of red and cherry, with the possibility of a small amount of ash and gray. Water absorption: approx. 14%.

Rustic look – numerous cracks, slag and pitting on the brick faces, i.e. a combination of the features of retro and aged brick tiles. Colors: shades of red and cherry, with possible small amounts of yellow, ash and gray. Water absorption: approx. 14%.
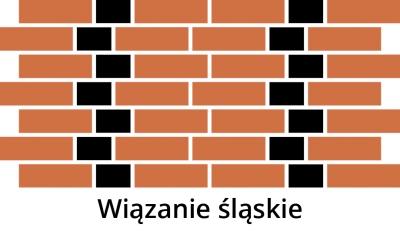
Besides the face and color, brick tiles are characterized by another important element: the bonds, which influence the final appearance of the arrangement.
There are two basic bonds, which are then joined together in various configurations. The first is the stretcher bond, where the brick stretchers, i.e., the narrow and long sides, are visible. The second is the header bond, with visible heads, i.e., the walls with the smallest surface area.
.
1. Stretcher binding.
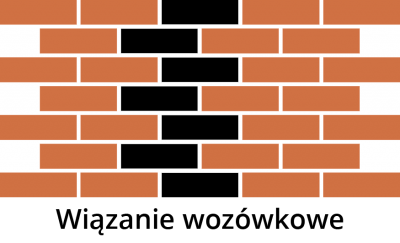
2. Head binding.

3. Cross binding.
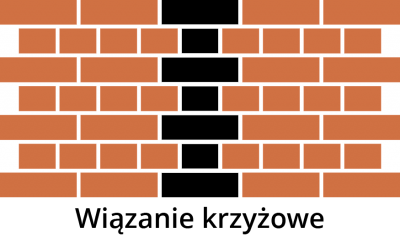
4. Flemish binding.
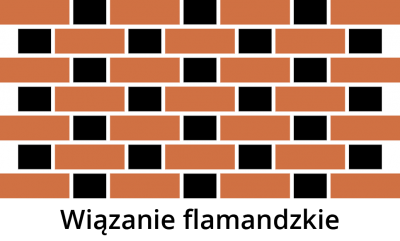
5. Anvil binding.

6. Silesian binding.
If you’ve decided to create a decorative wall yourself, you’ve come to the right place. We’ve prepared a six-step guide that will make your work easier. Start by measuring the area, which will allow you to estimate the number of tiles and corners you’ll need.
Before installing the brick tiles, you must properly prepare the wall. Check that the chosen location is stable and durable. This surface must be able to support the brick tiles, adhesive, and grout.
Next, clean the wall, as dirt and grease can weaken its load-bearing capacity. After vacuuming and degreasing it, apply primer. This primer stabilizes the surface, as the weight of the tiles must be transferred to the structural element to ensure durability.
Pour the primer into a bucket or construction container and spread it with a paintbrush over the wall surface. Take care to avoid streaks. If you’re installing the tiles on a particularly absorbent surface, apply an additional layer. This step is considered successful if the wall shines.
For really large spaces, it’s better to use a sprayer, which will save you a lot of time.
Let the primed surface dry – this usually takes 2 hours.
Once you’ve chosen the type of tile (and corners, if needed), you can start drawing the grid. Using a spirit level, mark the installation lines with a pencil. These will help you lay the tiles evenly and achieve a neat finish.
It’s best to start from the ceiling. This way, if you need to cut the tiles, they will be at the floor level, not in the most visible area. Additionally, if your project includes corners, they should be glued first.
Remember that the distance between the lines should be equal to the sum of the tile height (a standard brick wall is 6.5 cm) and the grout width (usually 1 cm, but you can adjust this yourself). Therefore, the first vertical line from the ceiling should be the height of our tile, but the next one should be a centimeter higher.
Remember to choose the tile bond to achieve the desired effect. You can use one of the bonds presented above or create your own.
Start by dusting the tiles, as any sand particles on them will weaken their adhesion to the wall. Clean them on all sides, including the edges and face. If there are any irregularities on the mounting side of the tile (especially old brick tiles), remove them with a plastic brush (a wire brush will scratch them).
Regardless of the chosen face and color, the tiles will vary. Therefore, it’s a good idea to lay them out on the floor, for example, and select them alternately, one from each batch. This will allow you to control your composition and achieve a uniform effect.
Install brick tiles between the drawn lines. Do not align them with the edges. The corners in the wall should be laid alternately, one under the other, choosing the shorter side and the longer side. If it becomes necessary to cut the tiles, use an angle grinder with a diamond ceramic cutting disc.
The ambient temperature – air and substrate – is also important. Both during installation and for 72 hours after, it should not be below 5°C or above 25°C. The tiles should be left at room temperature for 48 hours before installation.
For frost-resistant exterior facades, our brick wall tiles should be installed using flexible adhesives suitable for porous materials with increased water absorption. On exterior facades where the tiles are installed over insulation, anchors should be used to provide stability and support the weight.
Mix the adhesive according to the instructions until it thickens. Then apply it directly to the tile. A comb trowel is best for this. Press the tile against the wall and move it slightly until the adhesive is evenly distributed.
Start from the spot where you started gluing the brick tiles. First, make sure the adhesive has set firmly.
Choose a grouting method – wet or semi-dry. To achieve a uniform color, you must do the job in one go.
The semi-dry method involves mixing the grout to a semi-dry consistency. Apply it to a grouting tray, then use a trowel to fill the spaces between the brick tiles.
The wet method involves preparing a semi-liquid grout. It must not run down the wall, but must be able to pass through a grout squeezer. Place the prepared grout in a grout bag or grout spreader, and then place it directly between the tiles. If the tile surface becomes dirty, wipe it with a wet cloth as soon as possible.
To ensure a neat finish, smooth the grout with a damp brush. This must be done regularly, before the uneven surface dries.
After the grout has dried, it’s time to clean the wall. A scrubbing brush is best for this, gently scrubbing the entire surface. Its bristles are hard enough to remove any dirt, yet soft enough not to scratch your brick tiles.
None of our products require sealing. However, if for any reason you decide to do this, remember to wait until all the elements have dried and set. It is recommended to wait at least a week, preferably two. Only then can you begin sealing, following the instructions for your chosen sealer.
Sometimes a special paint is used instead. In this case, before using it, you should re-prime the brick tiles and grout. This option is ideal for those who want to add some color to their tiles.
The wall should first be vacuumed and then proceed with the sealing. This can be done using a paintbrush, sprayer, or paint sprayer. It’s often recommended to apply two coats. In this case, you need to wait for the first coat to dry thoroughly.
Installing Brick Tiles on Walls – Products and Tools
To install brick tiles, you’ll need the following products:
brick tiles and brick corners;
If you’d like to see our other products, such as bricks for walls, you can find them in our store. If you have any further questions, please contact us—we’ll be happy to help.
You can order samples here: Order Samples.
📌 Opublikowano: |
🔄 Zaktualizowano:
Accessibility Tools